Fall Bulb Planting For Beautiful Spring Blooms
By Kristin Ruffin
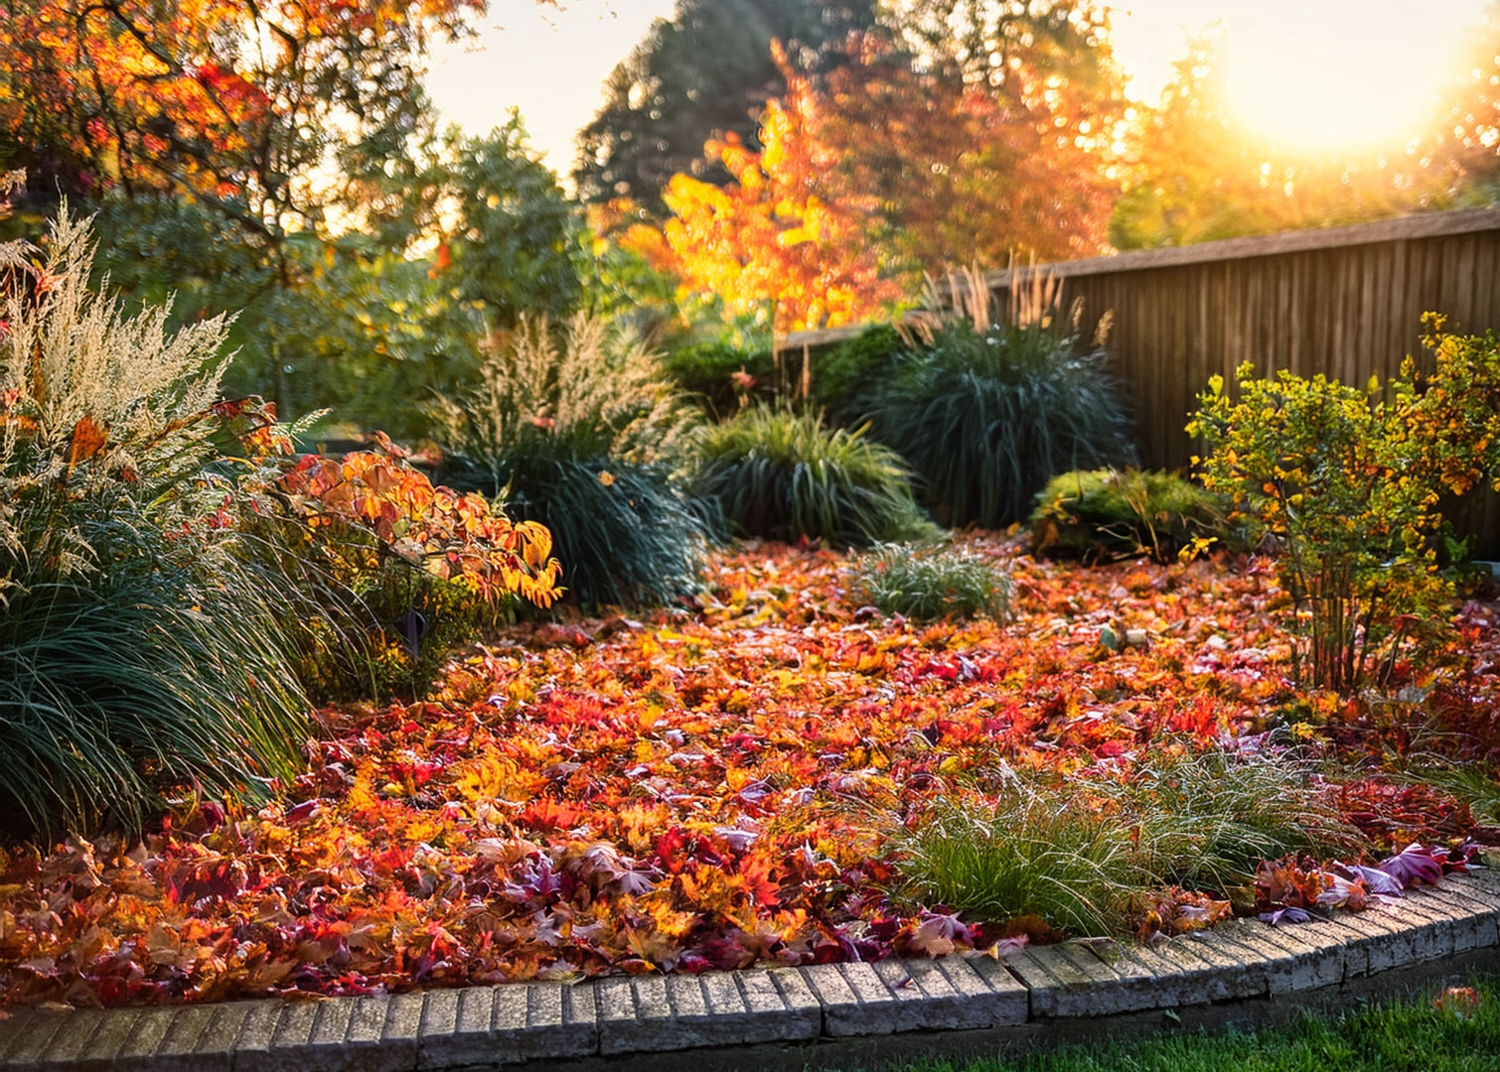
Fall is a season of transition, but for gardeners, it’s also a time of anticipation. While the leaves are falling and the air turns crisp, October is the perfect moment to start planning your spring garden. Planting spring-flowering bulbs now ensures a vibrant display when winter fades.
Whether you’re in a cooler climate or a warmer zone, this guide will walk you through everything you need to know: preparing your garden beds, choosing bulbs, and planting for a stunning spring bloom.
Why Fall Is the Best Time to Plant Spring Bulbs
 Spring-flowering bulbs like tulips, daffodils, hyacinths, and crocuses require a cold dormancy period to bloom. Planting them in fall allows them to settle in and develop strong roots before the ground freezes.
In USDA Zones 3–8, fall bulb planting is a tried-and-true method for achieving vibrant spring displays. The soil is still workable, and bulbs have time to establish before winter.
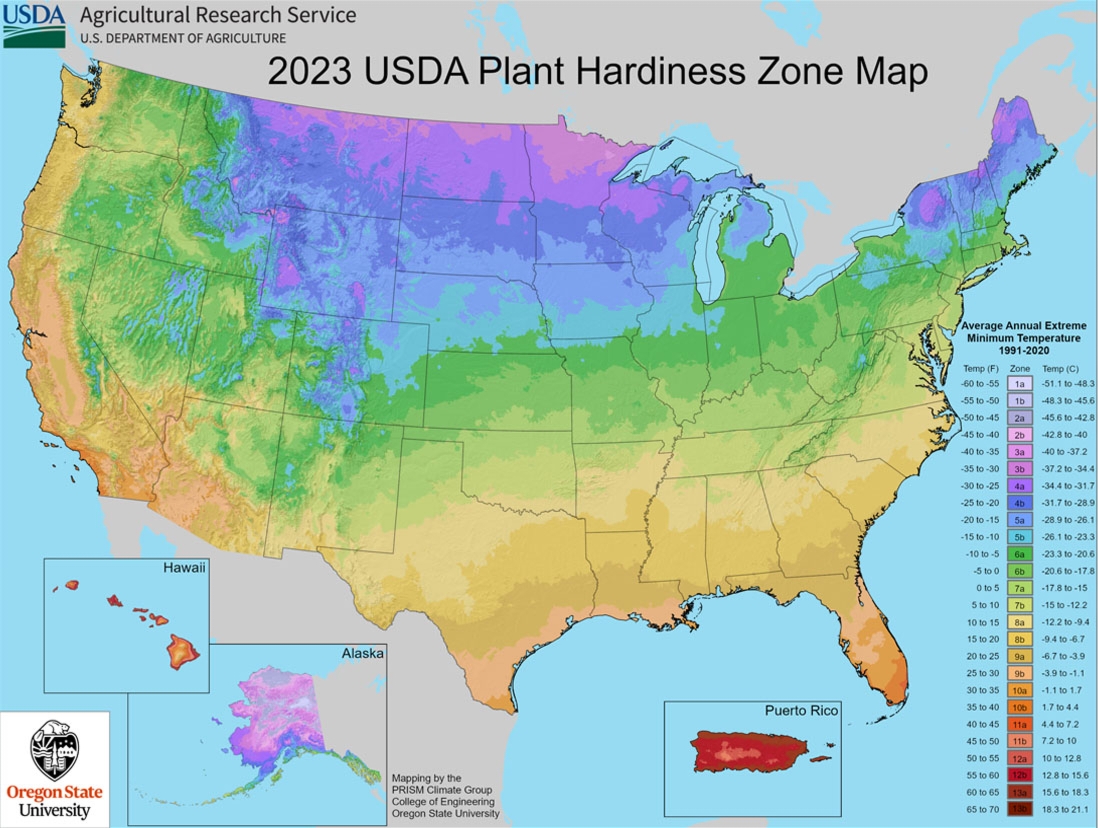
Is Your Garden in the Right Zone for Fall Planting?
Before you begin, check your USDA Hardiness Zone. This determines whether fall bulb planting will work naturally in your area.
Find Your USDA Zone and Plant with Confidence:
- Zones 1–2: Too cold for most spring bulbs to survive outdoors.
- Zones 3–8: Ideal for fall bulb planting—cold winters provide natural dormancy.
- Zones 9–11: Too warm for most spring bulbs to undergo natural dormancy.
- Zones 12–13 (Hawaii, Puerto Rico): Tropical climates require special care.
What to Do If You Live in a Warm Climate
In regions like southern Florida, southern Texas, coastal California, Hawaii, or Puerto Rico—Zones 9–13—winters may not be cold enough for bulbs to bloom naturally. But don’t worry! You can still enjoy spring flowers with a little extra care.
Option 1: Force Bulbs Indoors
- Choose bulbs suited for forcing (hyacinths, paperwhites, tulips)
- Chill bulbs in the refrigerator for 10–16 weeks
- Plant in containers with well-draining soil or water (for paperwhites)
- Keep in a cool, dark place until shoots appear
- Move to a sunny window and enjoy blooms indoors
Option 2: Pre-Chill and Plant Outdoors
- Place bulbs in a breathable paper bag
- Store in the refrigerator for 10–16 weeks
- Avoid storing near fruit (especially apples)
- After chilling, plant bulbs in well-drained soil as usual
Step-by-Step: How to Prepare Your Garden Beds
Choose Your Planting Site
- Pick a location with full to partial sun in spring. Most bulbs prefer well-drained soil and will rot in soggy areas.
Tip: In fall, trees may still have leaves, but in early spring, they’re bare. Areas that look shady now are often sunny when bulbs bloom—perfect for planting under deciduous trees.
Clear the Area
- Push mulch or leaves aside to expose soil. You can return them after planting.
Tip: I prefer to leave a light layer of fall leaves in my garden beds during planting. They act as natural mulch, help retain moisture, and support beneficial insects like lightning bugs that overwinter in leaf litter. If the layer is too thick, I gently move it aside and redistribute it after planting.
Improve the Soil
- Healthy soil is the foundation of a beautiful garden. If your soil is compacted or sandy, mix in:
- Compost for organic matter
- Leaf mold for moisture retention
- Aged manure for fertility
- Worm castings for nutrients
- Healthy soil is the foundation of a beautiful garden. If your soil is compacted or sandy, mix in:
Add Bone Meal or Bulb Booster
- At the bottom of each hole, I add bone meal or bulb fertilizer and lightly mix it into the soil before placing the bulb—never directly on the fertilizer.
- I like to use a spoon to add bone meal to each hole for precision. For larger areas, I mix it into the soil amendments to save time and effort.
- And yes, bulb planting can attract friendly four-legged critters—pets and wildlife alike—especially if you’re using bone meal. It’s part of the charm of gardening in harmony with nature! Just be sure to cover your planting areas well and store the bag in a secure, closed spot.
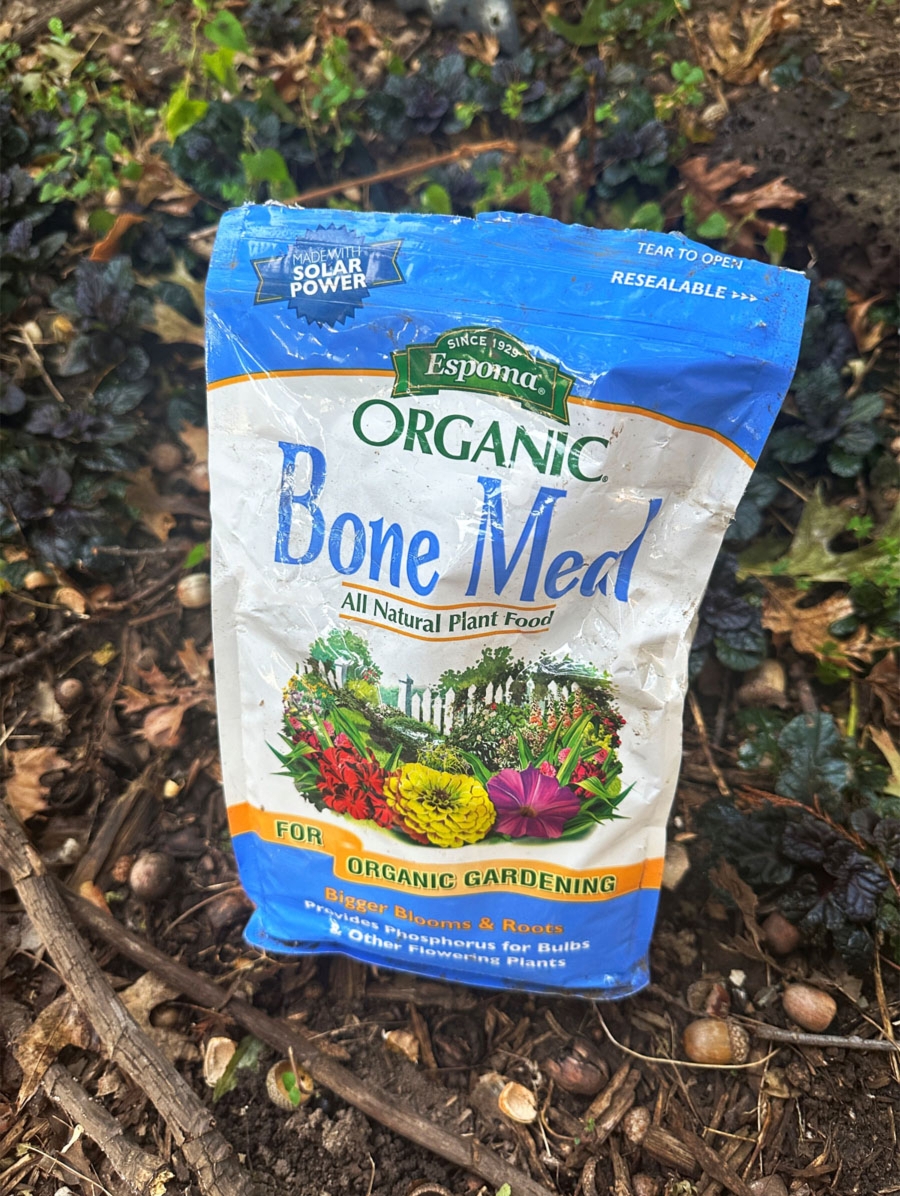
Tip: I choose organic bone meal to keep the soil chemical-free, which supports long-term garden health and makes it safer for future fruit or vegetable planting.
Designing Your Spring Flower Display
Before digging, visualize your garden:
- Uniform Rows: Perfect for borders
- Staggered or Wavy Planting: Adds movement
- Naturalized Clusters: Plant in groups of 5–9 for a natural look
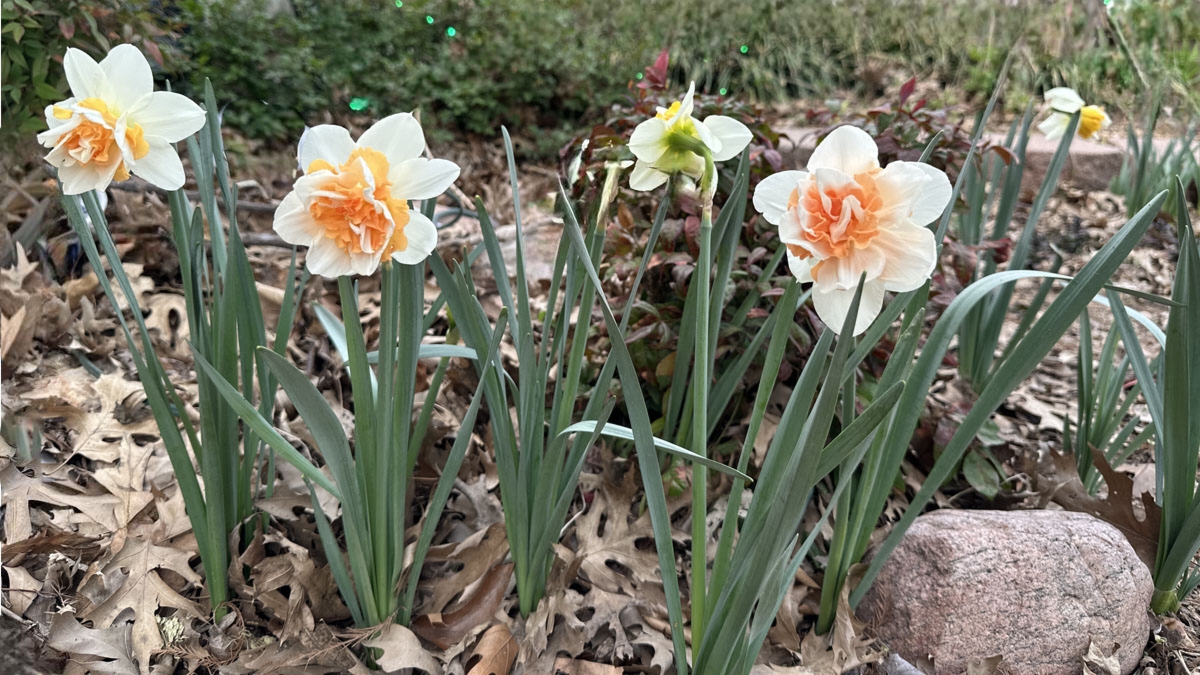
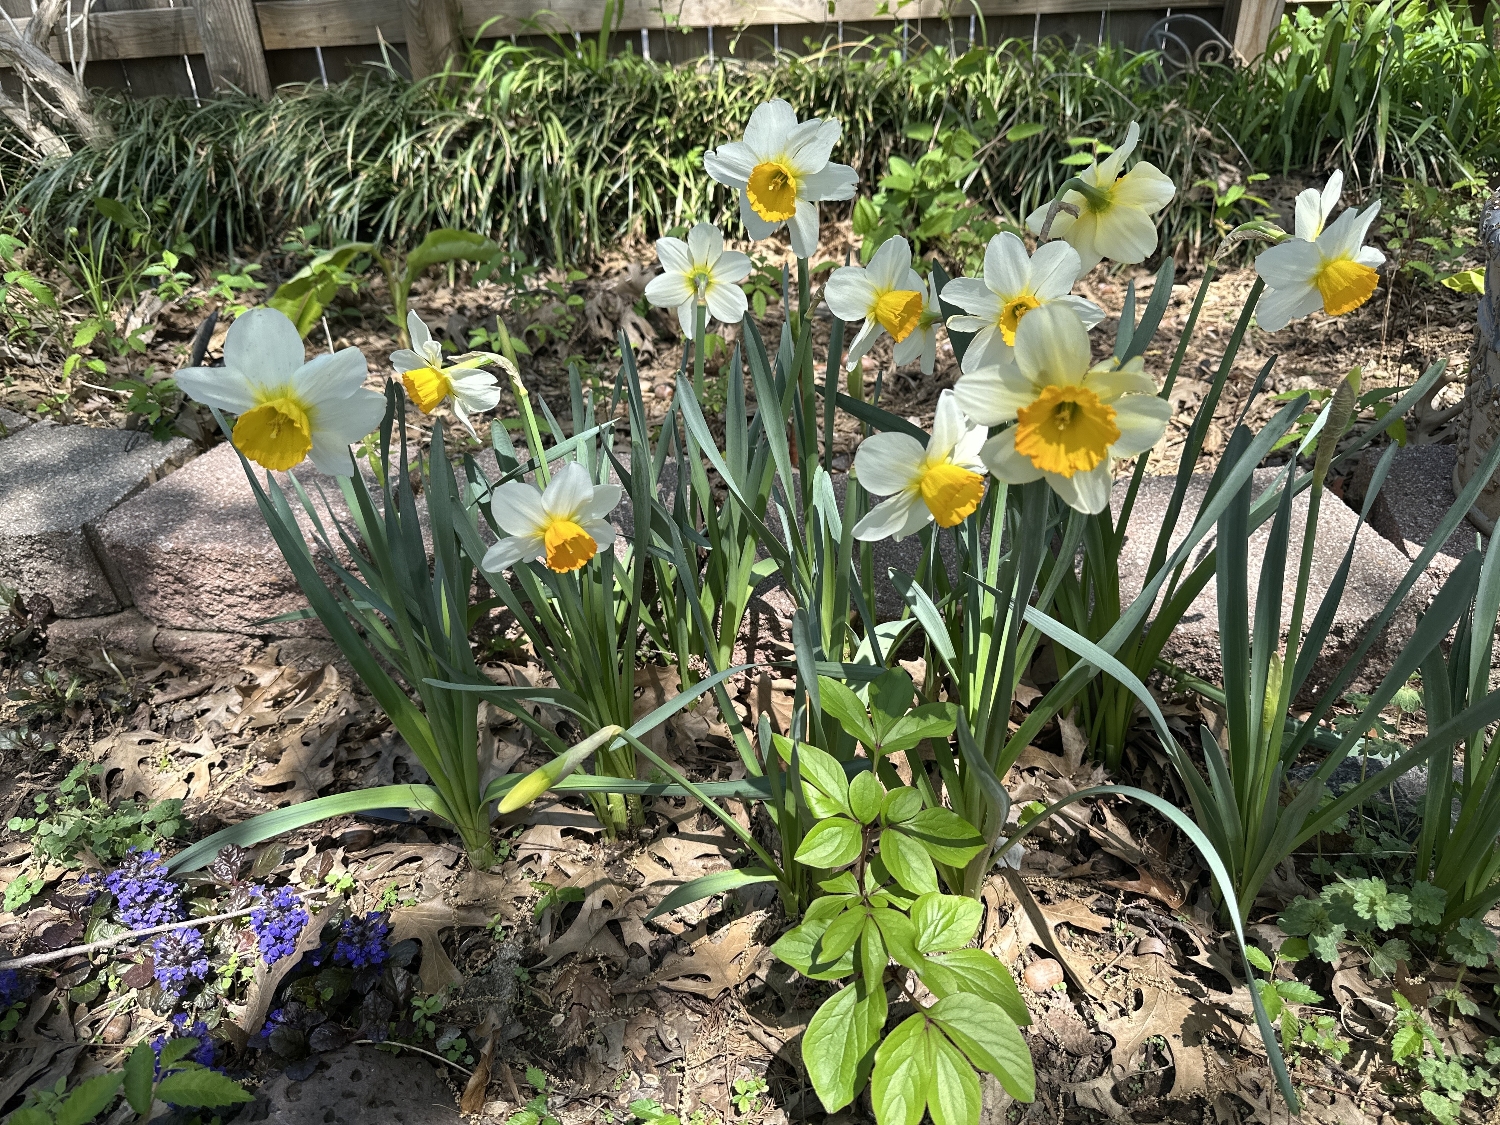 Pictured left to right: Black Scallop Ajuga (deep-hued groundcover), Sempre Avanti daffodils, and peony—showing how perennials and bulbs combine for color and structure in spring.
Tip: Mix cultivars for extended bloom time. Not all varieties bloom at once. My favorite daffodils include:
- Sempre Avanti
- Golden Ducat
- Replete (a breathtaking double daffodil)
Clusters of varying heights create depth and visual interest.
Layering Bulbs For Height and Color
- Tall bulbs: Alliums, tulips (back of beds)
- Medium bulbs: Daffodils, hyacinths (middle)
- Short bulbs: Crocus, snowdrops (front)
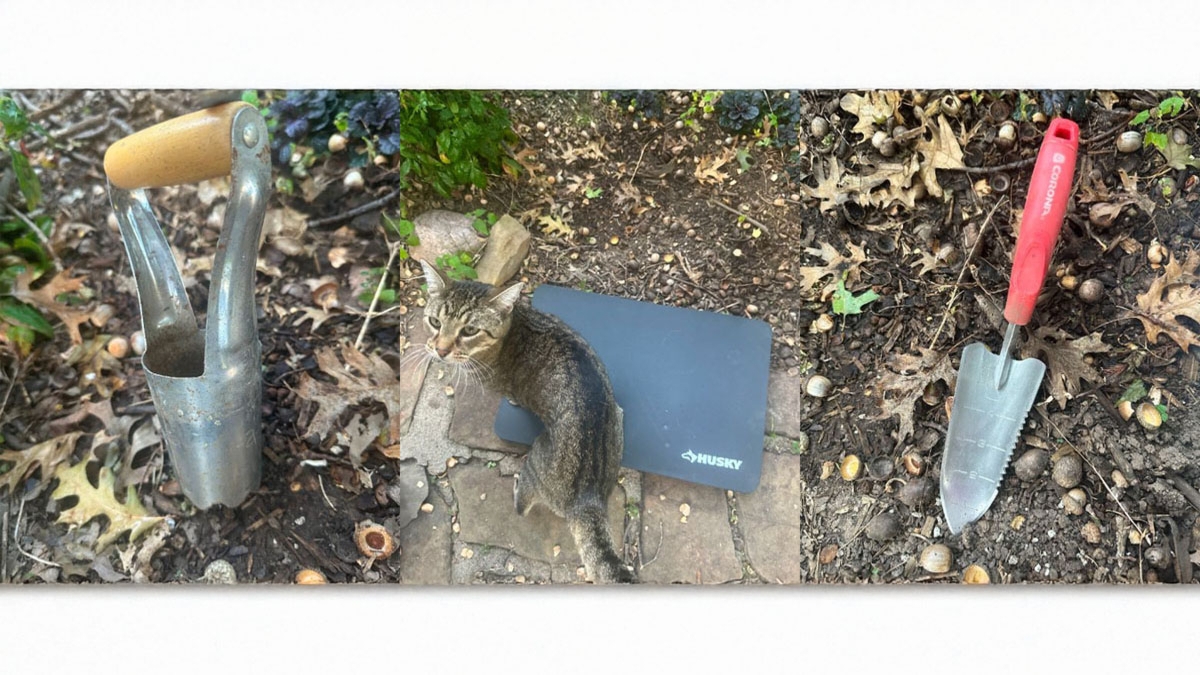
Tools You’ll Need
Any of these tools are helpful, but a simple hand shovel works fine too.
Super handy: Choose a hand trowel or bulb planter with inch markings engraved on the metal—it’s a great guide for bulb depth.
Hand trowel with inch markings
Bulb planter (standard or long-handled) with inch markings
Bulb auger for drills (great for large areas)
Kneeling pad: A thicker, larger pad works better for comfort unless space is tight. (My pictured pad is Husky brand from Home Depot.)
How to Plant Spring Bulbs
- Dig the Hole: 2–3 times as deep as the bulb’s height (check package for spacing and depth)
- Add Fertilizer: Lightly mix bone meal into soil at the bottom
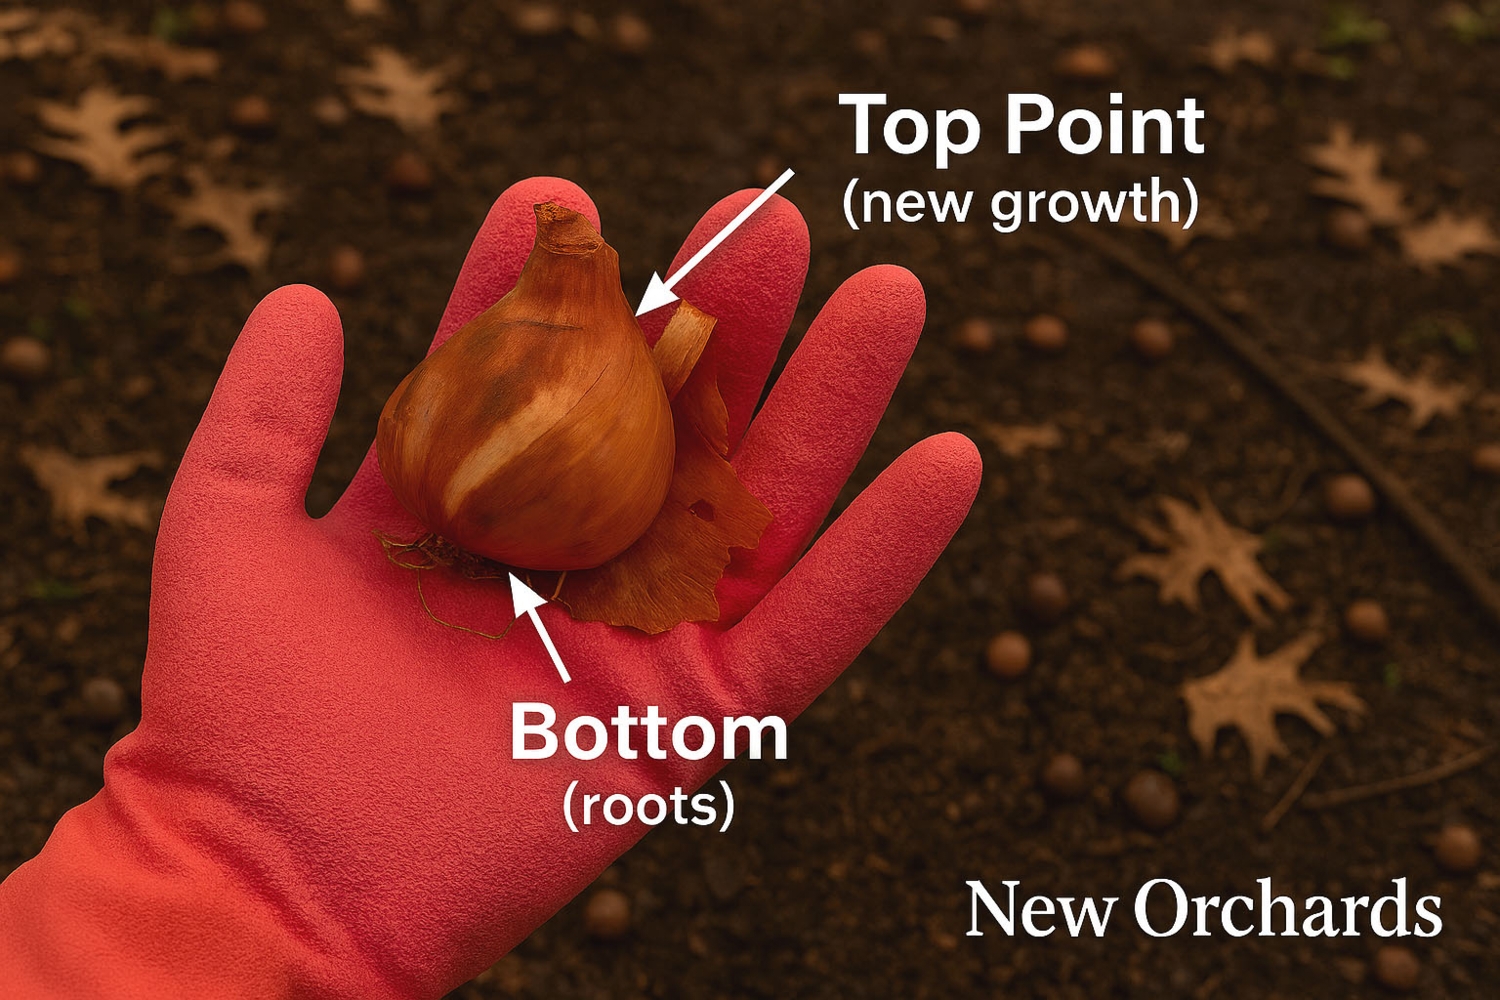
- Place the Bulb: Pointy end up, flat/root end down
- Cover and Tamp: Backfill soil and tamp lightly—firm but not packed
- Water: Deeply to settle soil
- Mulch: Replace mulch or leaves for insulation
Watering and Winter Care
Water deeply after planting. Once the ground freezes, bulbs go dormant—no need to water again until spring unless winter is dry.
Spring Emergence and Maintenance
- Shoots will poke through mulch or leaves—gently pull back the covering or clear excess leaves around new growth.
- After the last freeze, remove fallen leaves left in beds. By then, they’ve done their job—insulating soil, supporting beneficial insects, and helping lightning bugs reproduce.
- Do not cut foliage early—even if it looks messy. Leaves feed the bulb for next year’s bloom.
- Remove only dead blooms for tidiness.
Bonus Tip: Leave the Leaves!
Instead of bagging up fall leaves, leave them in your garden beds. They act as natural mulch, providing insulation and nutrients as they break down. This also supports beneficial insects like lightning bugs, which rely on leaf litter for overwintering.
If leaves bother you, tidy up sidewalks and grassy areas. Use a mower to mulch leaves in the lawn or leave them over winter for soil health. Remove excess leaves from walkways and compost them they make excellent nutrient-rich soil amendments.

Pest Prevention
Squirrels and voles are adorable—until they start digging up your freshly planted bulbs! To deter them, I sometimes sprinkle crushed oyster shells over the soil surface. It’s a gentle deterrent that doesn’t harm the critters but makes digging less appealing.
Another trick? Plant bulbs a little deeper than the package suggests—just an inch or two more can make a big difference in keeping them safe.
Storage Tips for Leftover Bulbs
If I don’t get all my bulbs in the ground before the first freeze, I store the extras in a cool, dry, and dark place—usually in a breathable paper bag or mesh sack.
Avoid plastic bags, which trap moisture and can cause rot. A basement shelf or unheated garage works well, as long as temperatures stay above freezing but below 60°F.
Best Time to Plant by Region
Timing is everything! I suggest the following general planting windows based on climate across the U.S.:
- Northern zones (USDA Zones 3–5): Late September to mid-October, before the ground freezes
- Midwestern and Northeastern zones (Zones 5–7): Early to mid-October is ideal
- Southern zones (Zones 8–9): Late October to early November, once soil temperatures begin to cool
- Far South and coastal areas (Zones 10–11): November or even early December, depending on local conditions
- Tropical zones (Zones 12–13, like Hawaii and Puerto Rico): Bulbs typically need to be pre-chilled before planting outdoors
If you're unsure, a soil thermometer is a great tool—bulbs do best when planted in soil below 60°F.
New Orchards in Bloom: 5 Fruitful Takeaways
- Fall is the best time to plant spring bulbs in Zones 3–8
- Warm-climate gardeners can pre-chill bulbs or force them indoors
- Use organic bone meal for strong roots—but mix lightly and store safely
- Design with layers, clusters, and multiple cultivars for extended bloom
- Leave the leaves for healthier soil and happy pollinators
You Might Also Like:
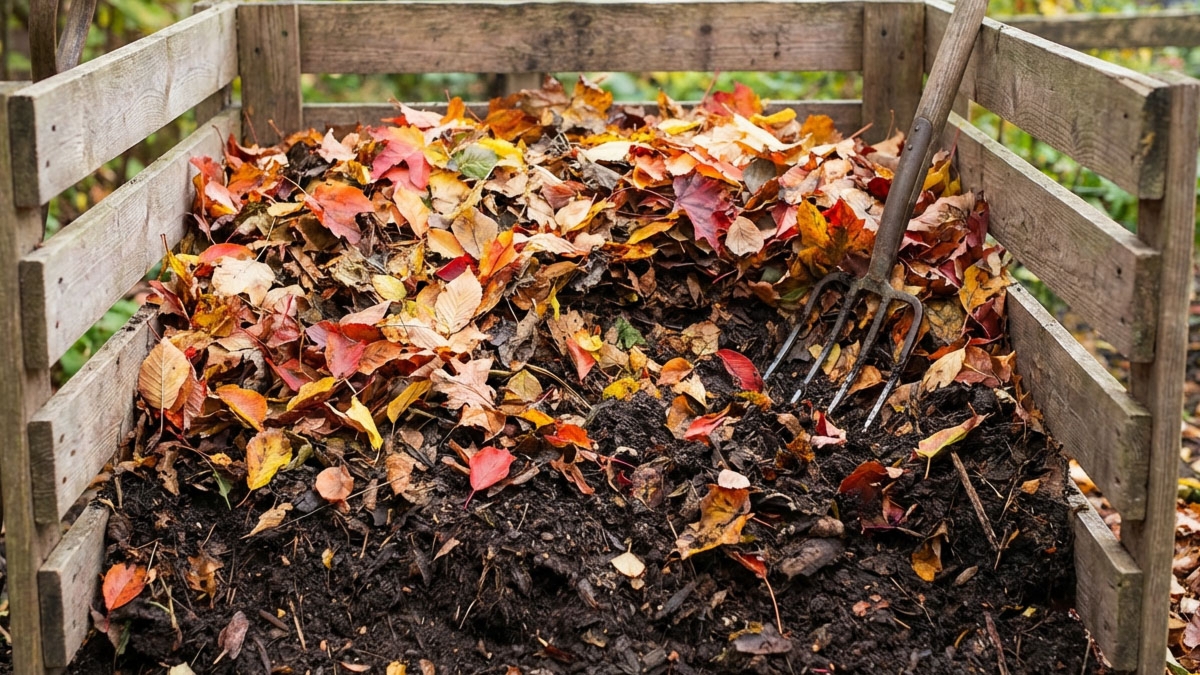
Autumn Leaves to Garden Gold: Composting Fall Leaves (and When to Mulch Instead)
Learn how to turn autumn leaves into rich compost, when to use leaves as mulch, and practical tips for healthy, sustainable gardens.
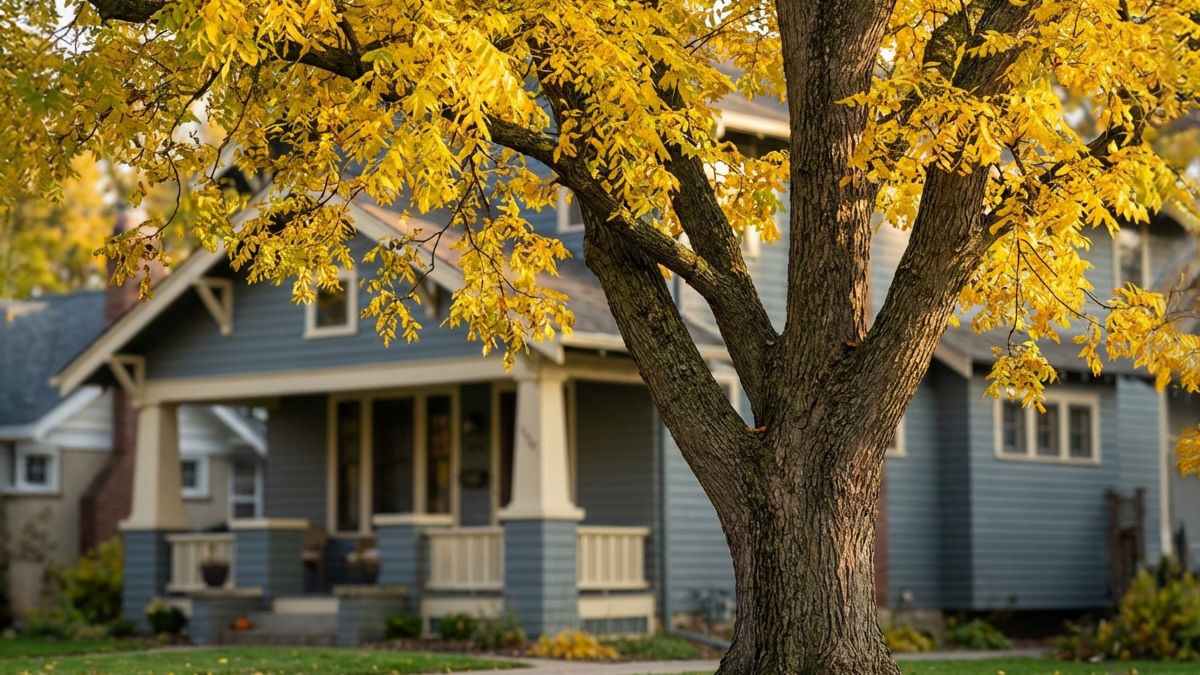
Juglone in Home Gardening: What You Need to Know
Learn how juglone from walnut trees affects garden plants, which species are sensitive or tolerant, and how to garden successfully around juglone-producing trees.

Understanding USDA Hardiness Zones & Growing Seasons: A Practical, No Nonsense Guide
Understand USDA zones and growing seasons. Learn annual vs perennial basics, microclimates, and smart shopping for variety-specific hardiness.
Why Keep Your Fall Leaves? Discover the Hidden Benefits
Learn why leaving fall leaves in your garden supports soil health, wildlife, and fireflies, and how to use leaves for mulch and leaf mold.
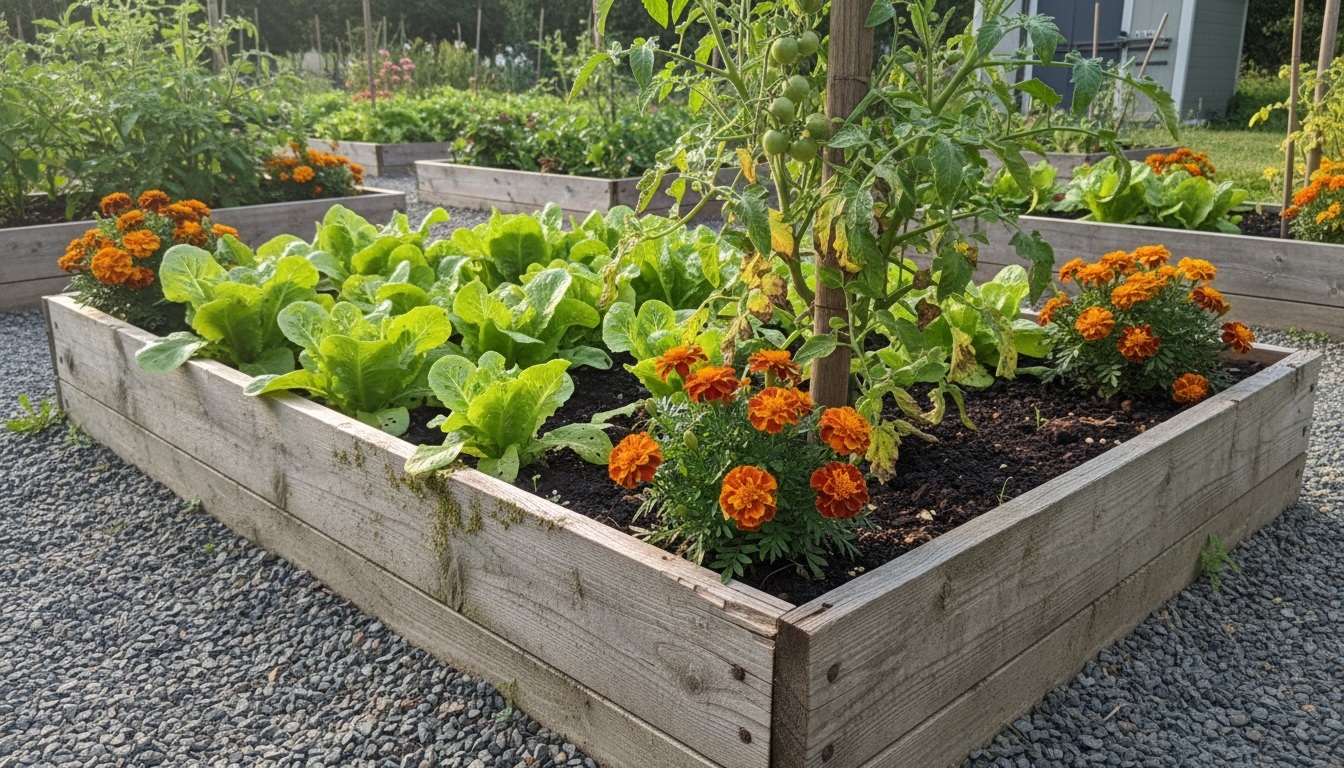
How to Grow in Raised Planters: Zone-Smart Gardening
Set up thriving raised beds—soil prep, plant selection by USDA zone, watering, and seasonal care for dependable yields.
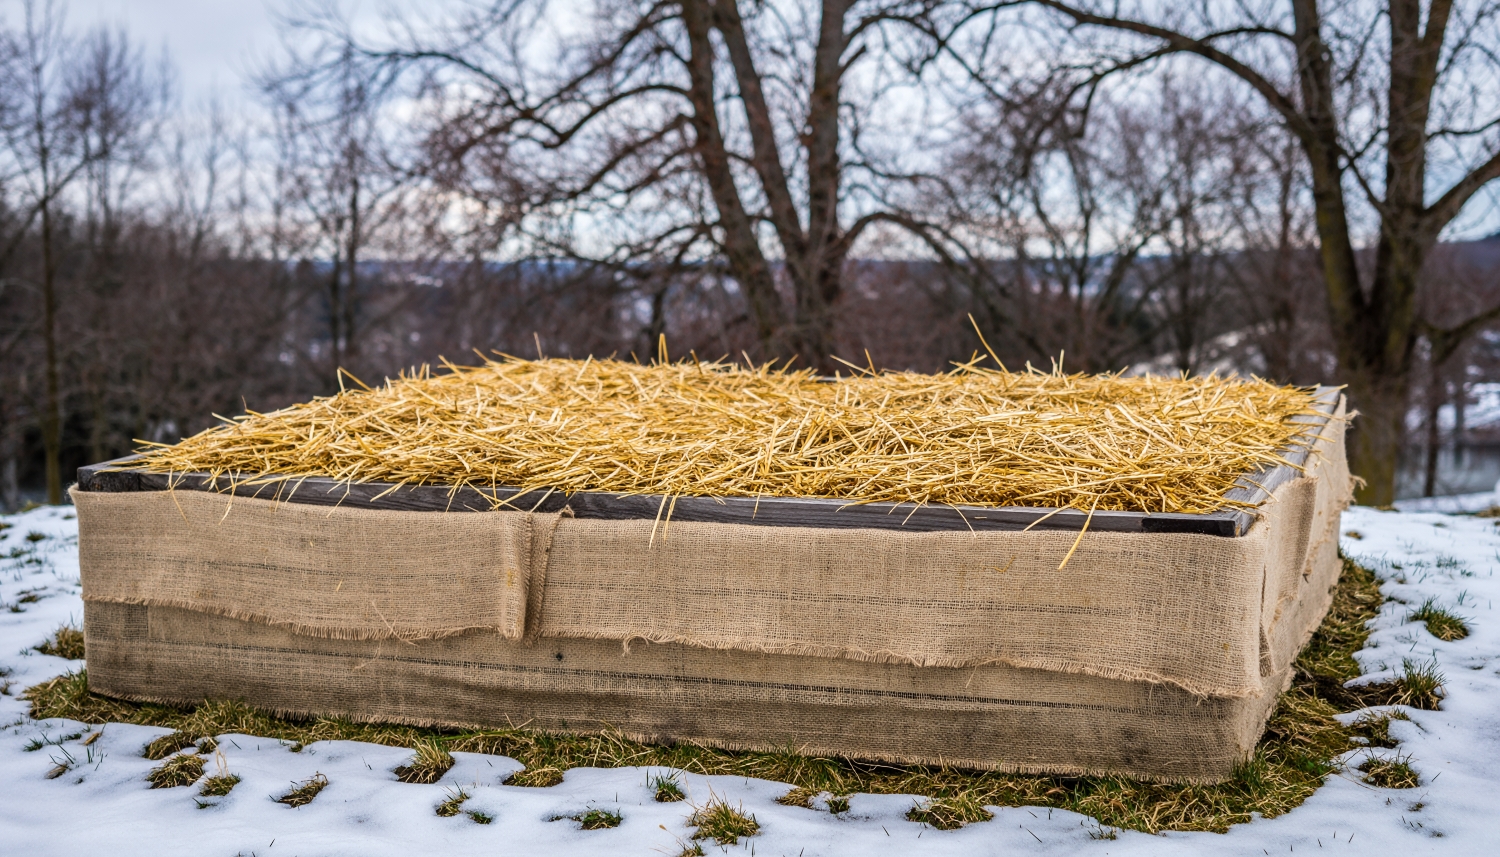
How to Protect Raised Planters in Winter: Cold-Weather Tips
Keep your raised garden beds safe through winter. Learn cold-zone strategies (mulch, covers, microclimates) to shield plants in raised planters from freezing temperatures.

Raised Beds vs Containers vs Pots: Which Should You Grow In?
Compare raised beds, containers, and pots by zone, watering, soil volume, and cost. Pick your method and jump to full how-to guides.